Specialist Drywall Contractor Services for Your Home Improvement
Specialist Drywall Contractor Services for Your Home Improvement
Blog Article
Complete Guide to Reputable and efficient Drywall Installment
Drywall installation is an essential element of any kind of building or renovation project, requiring a meticulous method to ensure both efficiency and dependability. It is important to discover the nuances of each step in the process, as they collectively add to the overall success of the drywall setup.
Essential Tools for Drywalling
When starting a drywall installment project, having the right tools is critical for achieving an expert coating. Vital tools include a drywall knife, measuring tape, and a T-square, which are basic for precise measurements and smooth cuts. A drywall lift is also highly useful, especially for ceiling setups, enabling easier handling of heavy panels.
For securing the drywall, a cordless drill and drywall screws are essential. The drill must be furnished with a drywall little bit to make sure performance and accuracy. In addition, a vital device is the drywall saw, which facilitates cutting around electric outlets and various other obstacles.
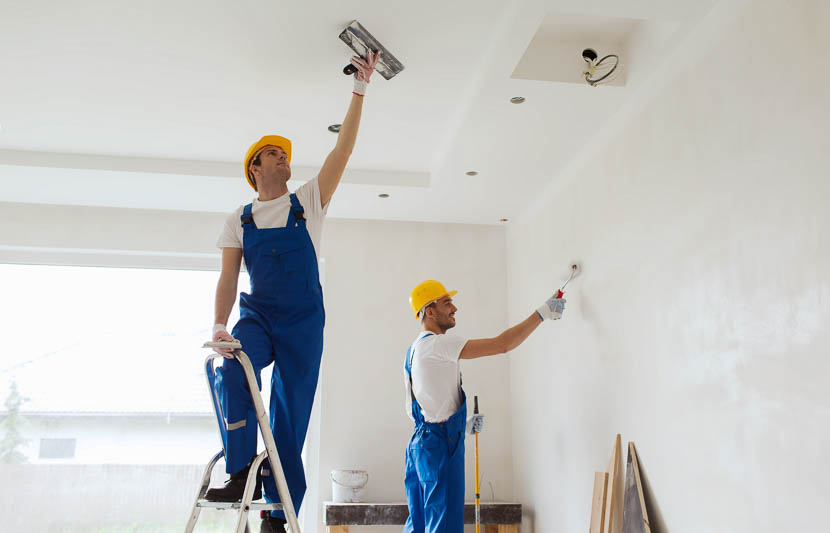
Furthermore, protective equipment such as shatterproof glass and a dust mask are vital to guarantee personal safety throughout the setup procedure. Using the right tools not just boosts the high quality of the installation yet also enhances the operations, making the project much more efficient total.
Preparing the Area
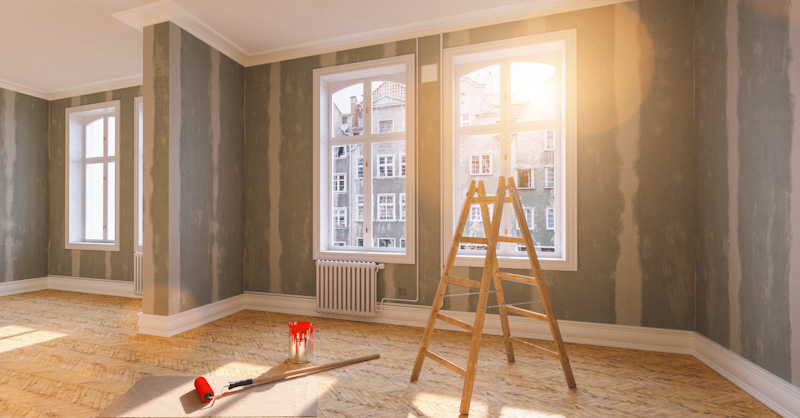
Next, evaluate the problem of the walls and ceilings. Fix any kind of existing damage, such as openings, cracks, or peeling off paint, to make certain a smooth and also surface area for drywall application. In addition, check for electric outlets, plumbing lines, and cooling and heating air ducts, marking their locations to avoid difficulties during installment.
It is likewise critical to measure the space accurately, figuring out the dimensions of the walls and ceilings to calculate the proper amount of drywall required. Create a comprehensive strategy that consists of the format and positioning of the drywall panels.
Installation Strategies
Efficient setup methods are critical for accomplishing a professional surface in drywall projects. Proper measurement and cutting of drywall sheets are basic steps. Always measure the wall room properly, enabling any type of outlets or switches. Use an utility blade for clean cuts, racking up the paper face and snapping the board along the racked up line.
When hanging drywall, start from the leading and work downward, ensuring that the lengthy edge of the board is vertical to the framing. Protect the sheets with screws instead than nails, which provide higher holding power and lower the threat of popping. Place screws every 12 inches along the edges and every 16 inches in the area of the board.
For corners, utilize edge grains to accomplish sharp, clean edges. When setting up on the original source ceilings, use a drywall lift or have a companion assist in holding the sheets in position (drywall repair). Maintain a void of regarding 1/4 inch over the flooring and ceiling to fit expansion and contraction
Ending Up Touches

As soon as the tape is in area, it's time to apply the initial coat of joint substance, likewise understood as mud. Utilize a 10 to 12-inch taping knife to spread the compound equally over the taped seams, feathering the sides to mix with the surrounding drywall.
Allow the substance to dry extensively, commonly 24 hours. After drying out, sand the surface gently with fine-grit sandpaper to remove any kind of blemishes. drywall contractor. Repeat the mudding and fining sand procedure, generally two to 3 coats, look at this now making sure each layer is flush and smooth with the drywall surface area
Usual Errors to Avoid
Lots of DIY fanatics experience challenges during drywall setup that can endanger the results. One typical blunder is falling short to appropriately gauge and cut drywall sheets. Unreliable cuts can bring about gaps and unequal seams, making completing more labor-intensive. In addition, overlooking to startle joints can create weak factors in the wall, causing possible drooping or cracking over time.
One more frequent mistake is incorrect fastening. Utilizing too few screws or nails can lead to loosened drywall, while overdriving fasteners can cause the paper to tear, compromising the structure. It's crucial to maintain constant spacing, normally every 16 click for more info inches, and to make sure that fasteners are flush with the surface.
Moreover, not resolving dampness issues prior to installment can lead to mold development and architectural damage. Constantly examine the atmosphere and usage moisture-resistant drywall in high-humidity areas.
Verdict
Reliable and reputable drywall installation needs thorough attention to information throughout the process. By using essential tools, preparing the room sufficiently, and sticking to finest techniques in installation methods, a flawless surface can be achieved. Furthermore, cautious application of joint compound and tape throughout the ending up stage enhances resilience and appearance. Staying clear of usual errors additionally adds to a specialist result, emphasizing the significance of precision and technique in effective drywall jobs.
It is vital to explore the nuances of each action in the process, as they jointly add to the general success of the drywall setup.When beginning on a drywall installment job, having the right tools is essential for attaining an expert surface.For fastening the drywall, a cordless drill and drywall screws are necessary.Appropriately preparing the area is crucial for a successful drywall installation.Effective installment strategies are critical for accomplishing an expert finish in drywall projects.
Report this page